Running Tests
4 min read
Running tests is the shared workflow used by both release executions and standalone test runs.
During testing, users open a selected test case, review its steps, record the result, and capture notes or evidence at the step where the observation happened.
Open A Test Case
Section titled “Open A Test Case”To run a test case:
-
Open an execution or test run.
-
Select a test case from the list.
-
Review the test case details.
-
Perform the test steps.
-
Record the test case result.
-
Add notes or attachments where needed.
-
Save the result.
Before recording a result, review the available test case information, including preconditions, steps, expected results, and attachments.
Test Case Results
Section titled “Test Case Results”At the test case level, choose one result:


- Passed: the test case worked as expected.
- Failed: one or more steps did not work as expected.
- Blocked: testing could not continue.
- Skipped: the test case was intentionally skipped.
- Not Executed: the test case has not been run yet.
Use Failed when the product behavior does not match the expected result. Use Blocked when the tester cannot proceed because of an environment, dependency, access, data, or setup issue.
Step-Level Results
Section titled “Step-Level Results”Each test step can have its own result and notes.
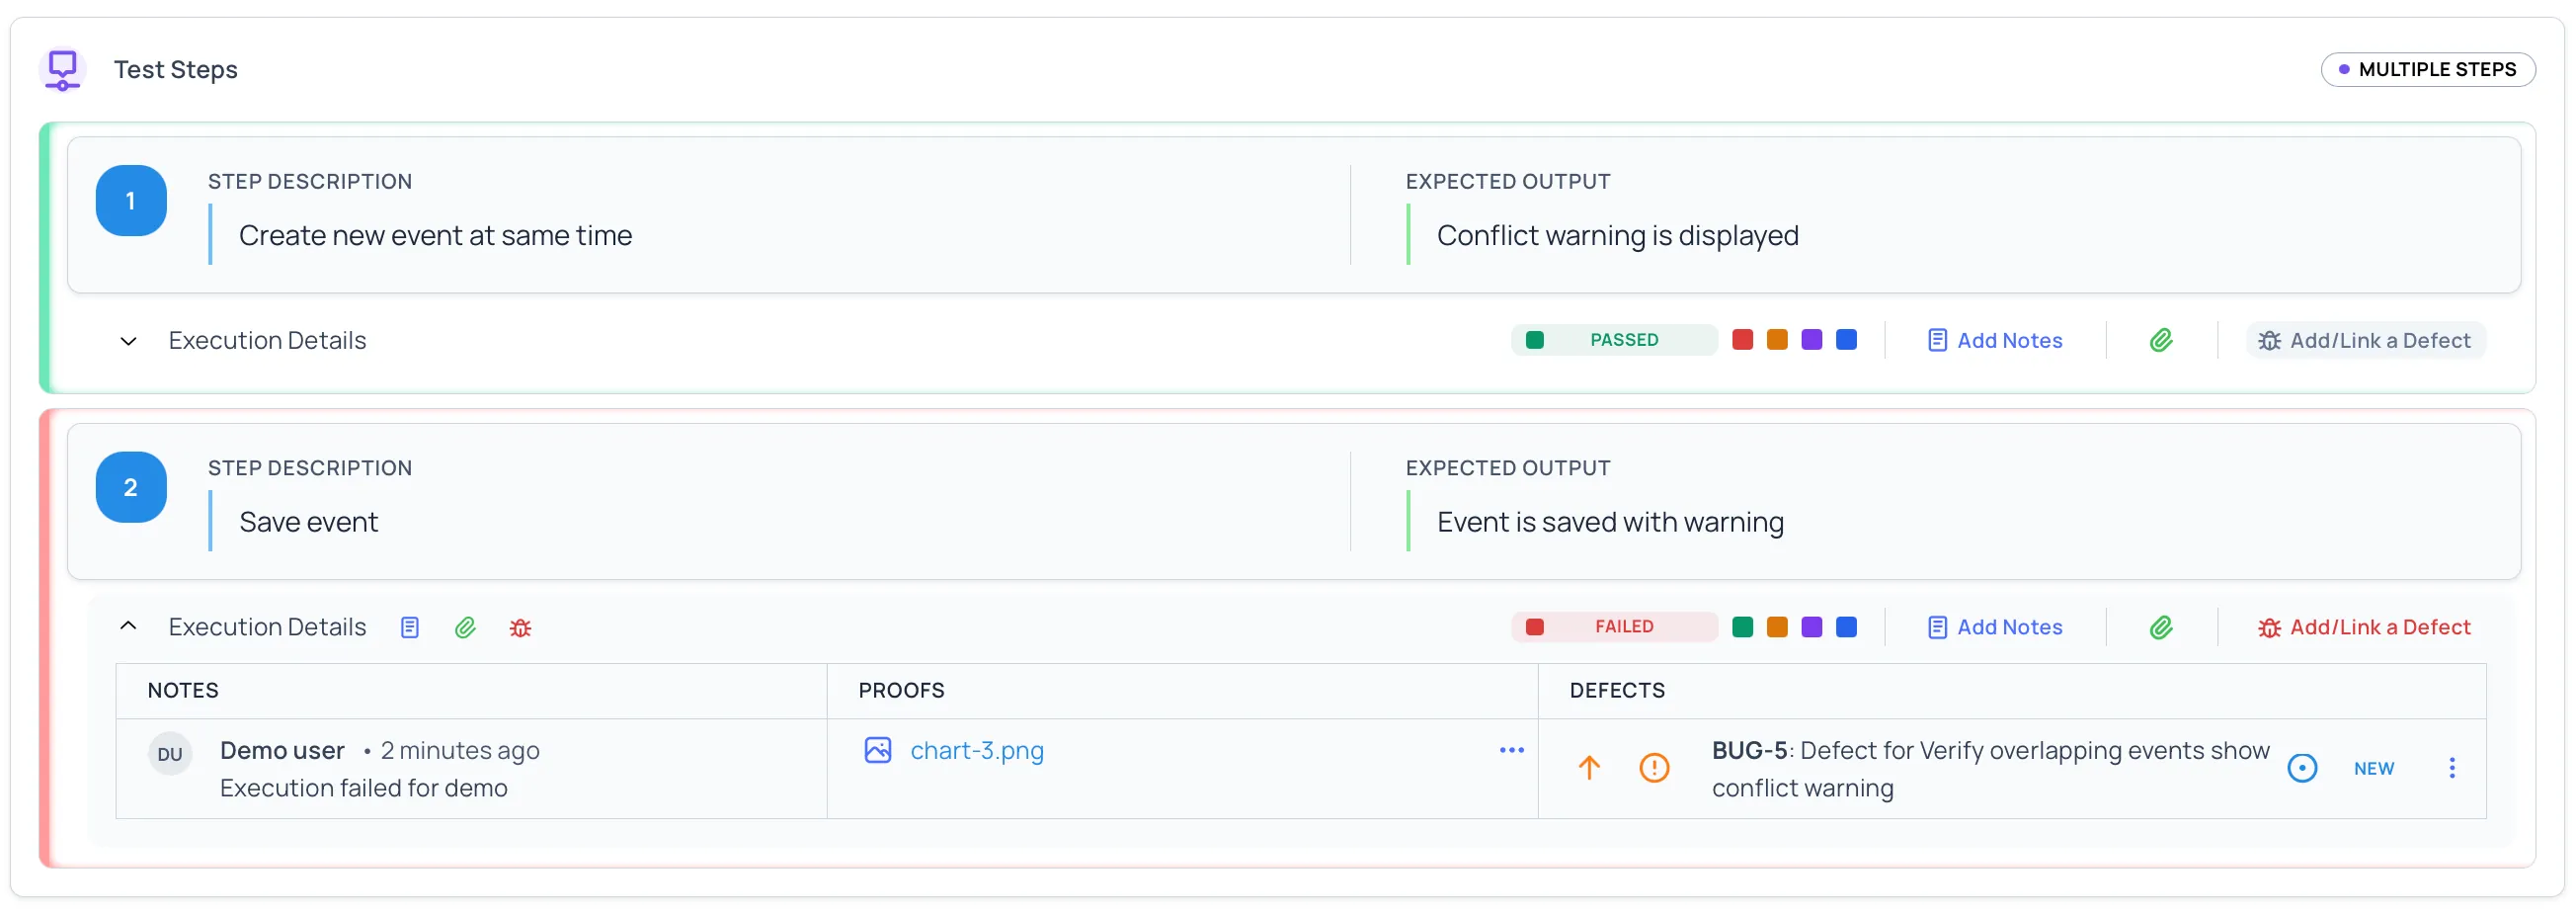
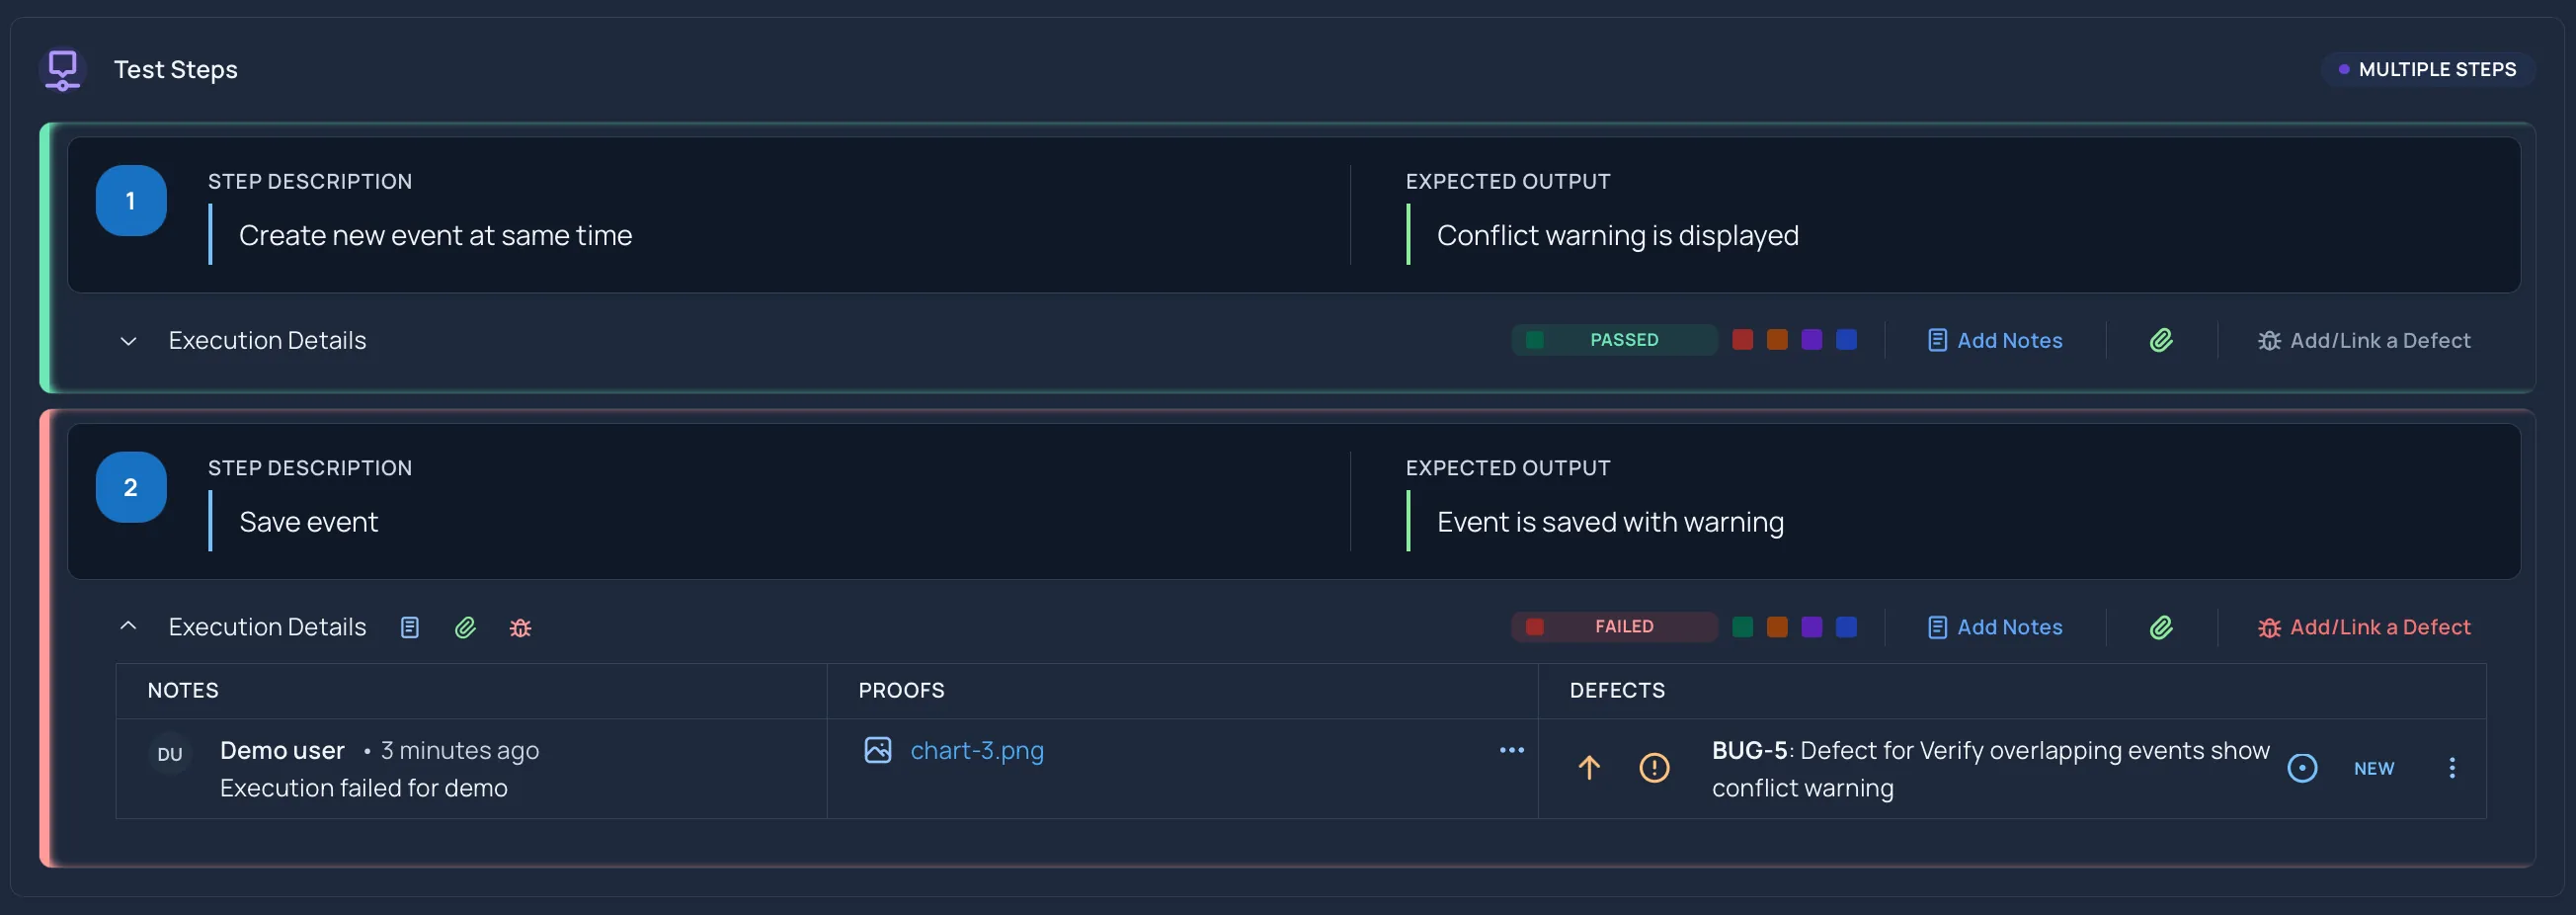
Use step-level results to show exactly where testing passed, failed, became blocked, or was skipped.
Use step-level notes to explain:
- What actually happened.
- Which expected result was not met.
- Why the step could not continue.
- Why the step was skipped.
- What evidence is attached.
Time Spent
Section titled “Time Spent”When you finish a test case, you can optionally record how long it took. This is captured when you complete a test case or when you use Mark All Passed to pass every step at once.
The time spent is optional. Choose from the predefined options:
- less than 5 minutes
- 5-10 minutes
- 10-20 minutes
- 20-40 minutes
- 40-60 minutes
- more than 60 minutes
To record time spent:
-
Complete the test case, or select Mark All Passed to pass all steps.
-
Choose a value under Time spent.
-
Save the result.
If you do not want to record time, leave the field empty or select Skip. The time is saved with the result.
Attach Evidence
Section titled “Attach Evidence”Attachments can be added at the step level. This keeps proof close to the step where it matters.
Helpful attachments include:
- Screenshots
- Logs
- Videos
- Supporting files
Attach evidence for failed and blocked steps whenever possible. Evidence helps reviewers understand the issue without repeating the test.
Assign Test Cases
Section titled “Assign Test Cases”Assignments help teams split execution work across users.
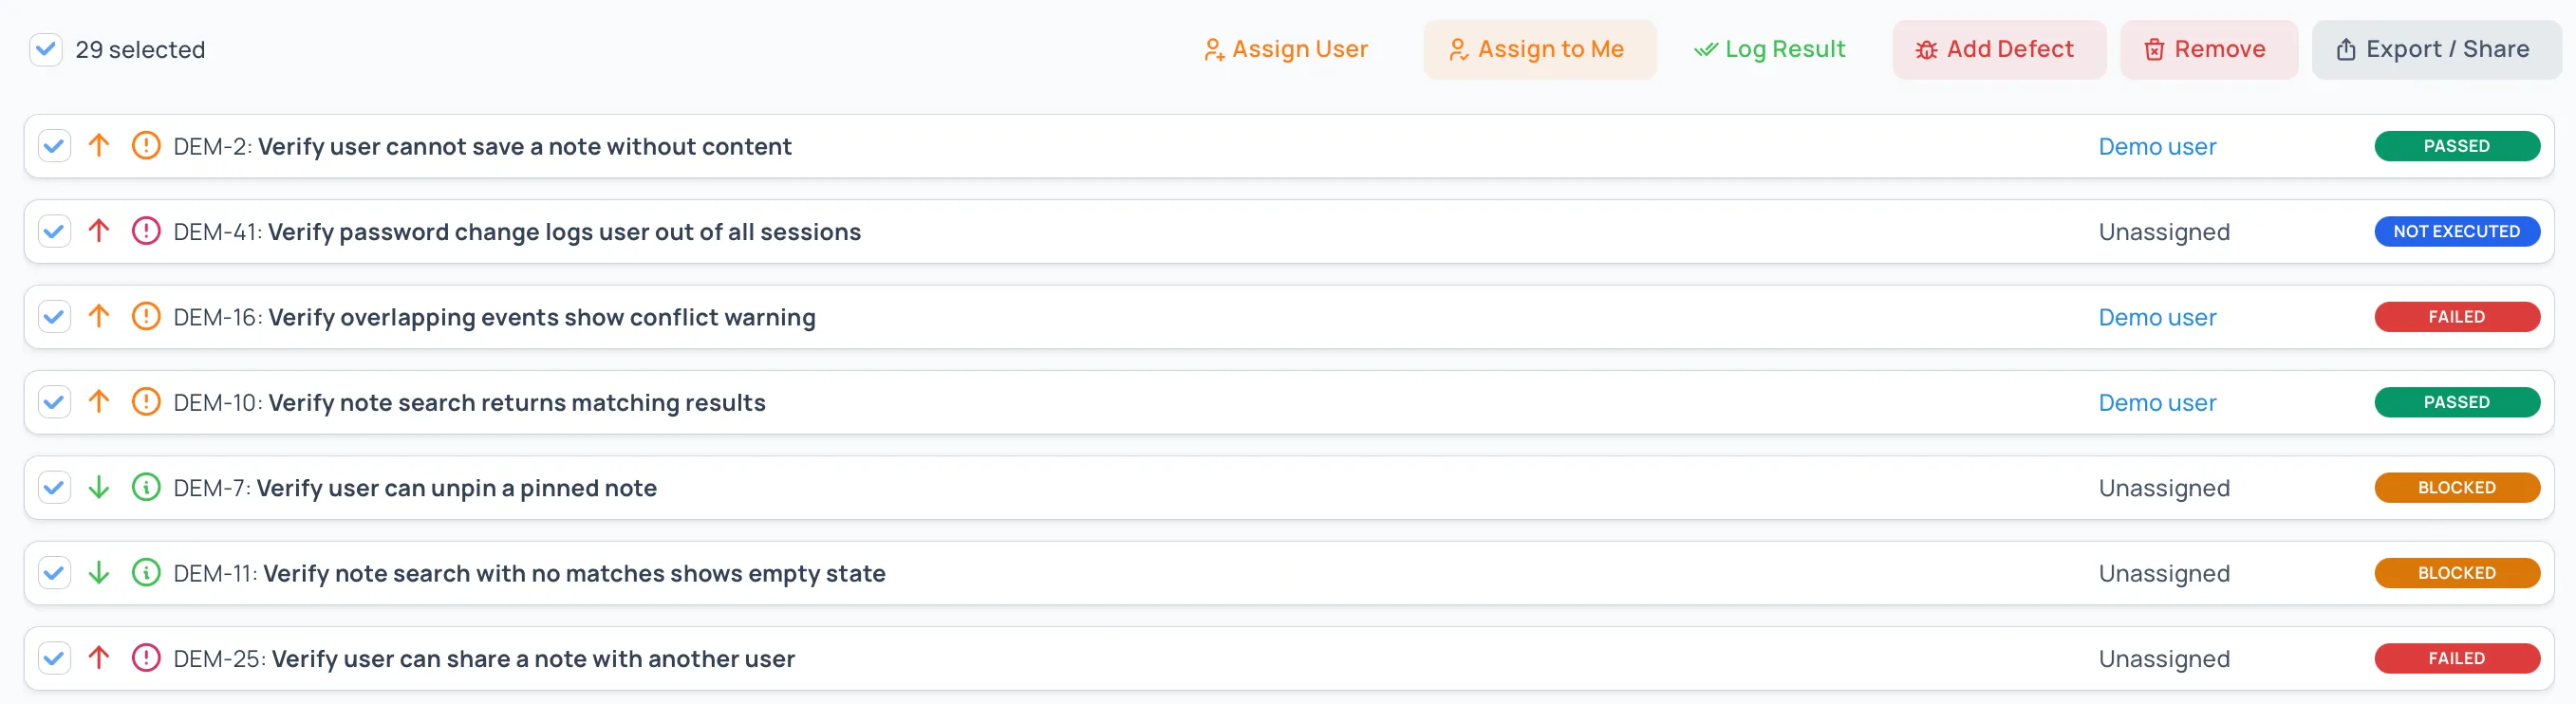
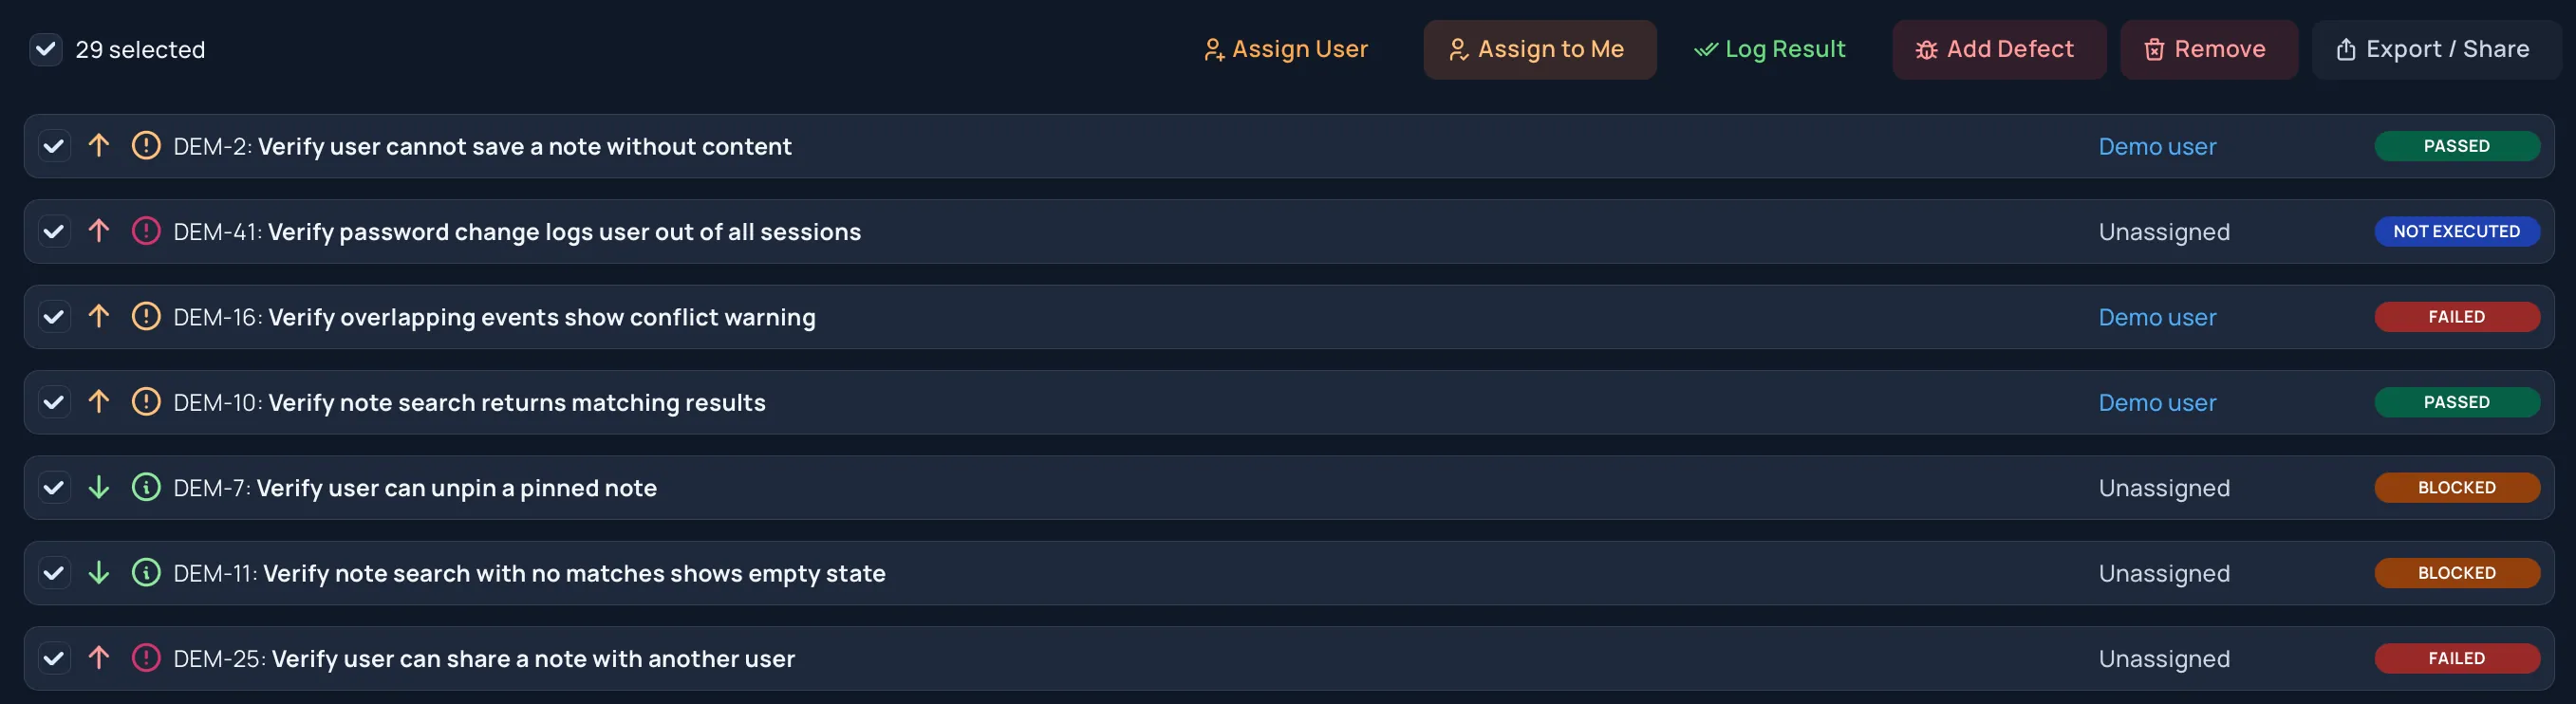
Users can assign individual test cases or select multiple test cases and assign them together. Assignment information is used in analysis views to show remaining work and ownership.
Smart Assign
Section titled “Smart Assign”Smart Assign spreads the selected test cases across the people on the project, instead of splitting them evenly.
When it decides who gets a case, it:
- Favours people who have recently run or written similar cases, or worked in the same folder.
- Gives fewer new cases to people who already have a lot of work.
- Counts some cases as more work than others: high-priority and high-severity cases, cases with more steps, and cases that aren’t automated yet.
- Keeps cases from the same folder with the same person, up to about eight cases each. A larger folder is shared between more people.
To run it on an execution or test run:
-
Open the execution options and select Smart Assign (“Distribute testcases across users”).
-
Choose which test cases to assign: Unassigned only, All testcases, or Manual selection to pick them from the list. Select Next: pick users.
-
Choose the people to share the work between. Only people with access to the project are listed.
-
Select Confirm assignment.
Good to know:
- Choosing All testcases reassigns cases that already have someone. Use Unassigned only to keep existing assignments.
- It gives the same result each time. Running it again on the same cases, with nothing else changed, assigns them the same way. It doesn’t use AI.
- Workspace administrators aren’t given cases unless they also have a role on the project.
Bulk Updates
Section titled “Bulk Updates”Where available, bulk updates help change multiple selected test cases at once.
Use bulk updates when:
- A shared environment issue blocks several tests.
- A group of tests is intentionally skipped.
- A set of test cases should be assigned to one user.
- A group of related tests has the same result.
Review the selected test cases before applying a bulk update. Bulk changes should reflect real testing outcomes, not just cleanup.
Review Results During Testing
Section titled “Review Results During Testing”As testing progresses, review:
- Failed test cases that need defect links.
- Blocked test cases that need unblock action.
- Skipped test cases that need a clear reason.
- Not executed test cases that still need owners.
- Assigned work that has not moved recently.
Use analysis views to spot trends before the end of the execution or test run.
Good Execution Notes
Section titled “Good Execution Notes”Strong notes are:
- Specific
- Factual
- Written at the affected step
- Paired with evidence when helpful
- Clear enough for someone else to understand later
Avoid vague notes such as “does not work.” Describe the observed behavior, expected behavior, and any conditions that affected the test.
Related Guides
Section titled “Related Guides”- Learn about Release Executions
- Learn about Test Runs
- Complete and lock results with Completing and Resuming Executions
- Export results with Exporting and Sharing Executions
- Review Execution Analysis
- Review Defect Insights
- Review Defects