Managing Test Case Folders
3 min read
Folders help you organize test cases in the repository using a hierarchical structure. A well-organized folder tree makes it easier to manage test cases as your project grows.
Folder Structure
Section titled “Folder Structure”Folders are arranged in a tree structure.
- Root is the top-level container
- Folders can contain subfolders and test cases
- Subfolders allow deeper organization
- Test cases live inside folders or directly under Root
Accessing Folder Actions
Section titled “Accessing Folder Actions”Folder actions are available from the folder tree in the Repository.
To access folder actions:
- Navigate to Repository
- Locate a folder in the left sidebar
- Open the folder actions menu
Creating Folders
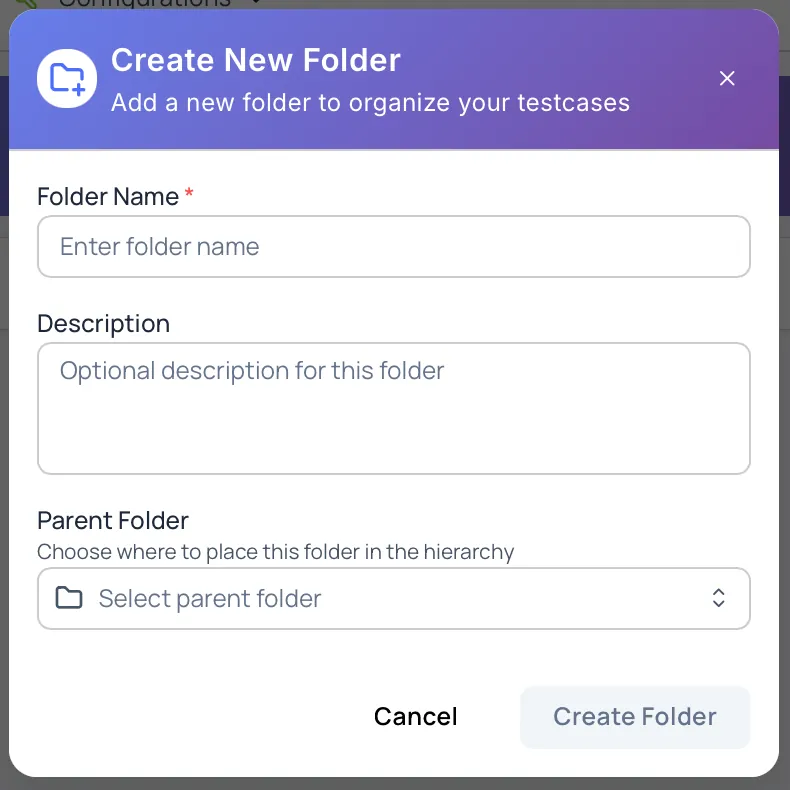
Section titled “Creating Folders”- In the Repository sidebar, click Add
- Select Create Folder
- Enter the folder name
- Click Create
The new folder appears under the selected parent folder.


Creating Test Cases in a Folder
Section titled “Creating Test Cases in a Folder”You can create a test case directly inside a folder in multiple ways, depending on your workflow.
Method 1: Using Folder Context Menu
Section titled “Method 1: Using Folder Context Menu”- Right-click on a folder in the folder tree
- Select Create Testcase
- Fill in the test case details
- Click Create
The test case is created inside the selected folder.
Method 2: From the Folder View (Right Panel)
Section titled “Method 2: From the Folder View (Right Panel)”- Select a folder from the folder tree
- In the main (right) panel, hover over the folder header
- Click Create Testcase
- Fill in the test case details
- Click Create
The test case is created in the currently selected folder.
Method 3: Using the Add Menu
Section titled “Method 3: Using the Add Menu”- Click Add in the Repository sidebar
- Select Add Testcase
- In the test case creation form, select the desired folder from the Parent Folder field
- Fill in the remaining details
- Click Create
The test case is created under the selected parent folder.
All methods create the same type of test case. Choose the approach that best fits your workflow.
Editing Folders
Section titled “Editing Folders”- Open the folder actions menu
- Select Edit Folder
- Update the folder name or description
- Save changes
Folder edits apply immediately and do not affect existing test cases.
Rearranging Folders (Drag and Drop)
Section titled “Rearranging Folders (Drag and Drop)”Folders can be reorganized using drag and drop.
To move a folder using drag and drop:
Section titled “To move a folder using drag and drop:”- Click and hold the folder in the sidebar
- Drag it to the desired destination folder
- Release to drop it into place
Drag and Drop Rules
Section titled “Drag and Drop Rules”- A folder can be moved under another folder or under Root
- A folder cannot be dropped into itself or its own subfolders
- All subfolders and test cases move along with the folder
- The folder hierarchy updates immediately
Drag and drop provides a fast way to restructure folders without using menus or dialogs.
Deleting Folders
Section titled “Deleting Folders”- Open the folder actions menu
- Select Delete Folder
- Confirm the deletion
Deleting a folder:
- Removes the folder and all its subfolders
- Removes all test cases inside the folder
- Deleted items are moved to the recycle bin (if enabled)
⚠️ Deleting a folder removes all its contents.
Ensure important test cases are backed up before deleting folders.
Folder Organization Best Practices
Section titled “Folder Organization Best Practices”- Use clear, descriptive folder names
- Keep folder depth reasonable (3–4 levels max)
- Avoid too many top-level folders
- Group related test cases together
- Periodically clean up unused folders
- Prefer drag and drop for quick reorganization
Permissions
Section titled “Permissions”Folder access depends on your project role:
-
Project Manager
Full access to folder management, including creating, editing, rearranging, and deleting folders. -
Project Coordinator
Can create folders, edit folder details, and reorganize folders. -
Project Member
Can view folders and create test cases inside them. -
Project Viewer
Read-only access to folders and test cases.
Next Steps
Section titled “Next Steps”- Learn how to Create Test Cases
- Organize large repositories using folders
- Execute test cases using Test Runs